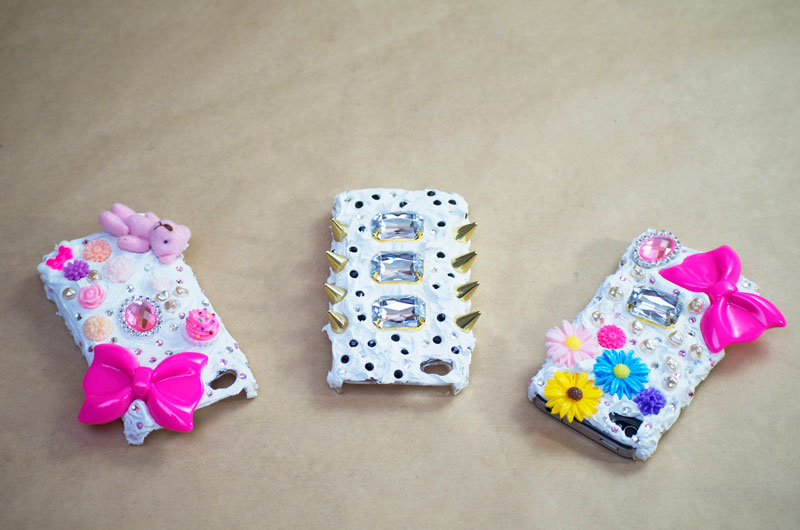
DIY japanese decoden embellished phone cases

 i
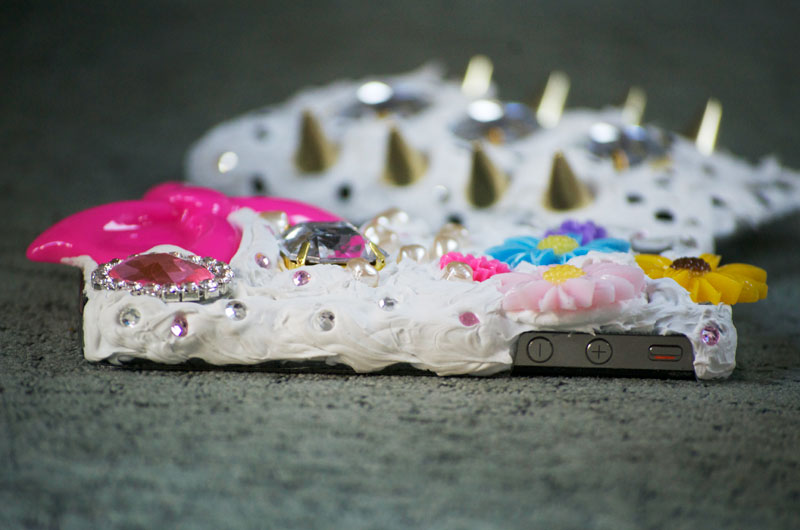
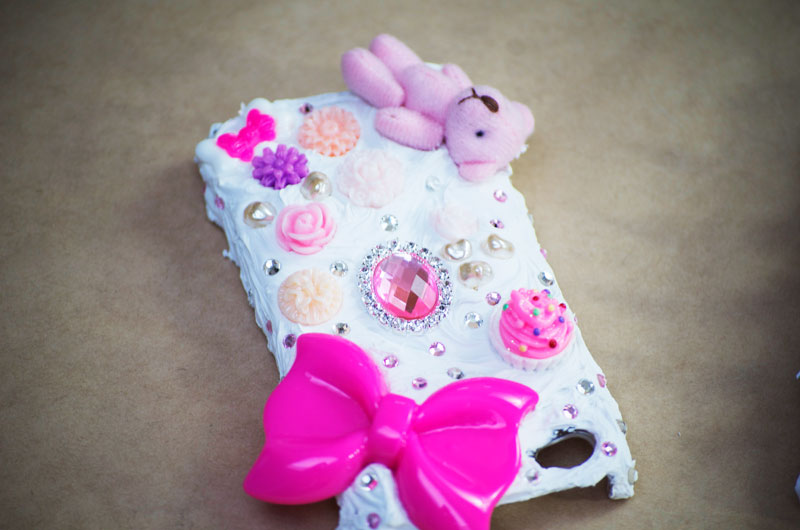
looove this project! Kailea (Mr. Kate’s Operations Manager – her DIY
phone cover is the one with the pink bear!) and i have been wanting to
do this DIY for so long and we finally did! it’s just so gaudy and hilarious and why NOT have a fun phone case for every day of the week?!
the technique is Kawaii (means cute) Deco-den or Decoden and it’s very Japanese,
if you couldn’t already tell. i really love Japanese girl’s style and
they’re love of totally over-the-top color and platforms and nails and
of course, phones! i think this project is a great way to bring a little Decoden into your life. they make great gift items too and are totally personalize-able… so express yourself with some decoden!
in the video i talk about the style app Pose – which i’m on and you can get for your iPhone, Android or sign up on pose.com… follow me here and share your own rad style pics and follow other inspiring peeps!
Prep It:
- silicone caulk (i recommend getting the 100% silicone – we used one with latex and acrylic which worked fine but the 100% silicone is an easier consistency to apply).
- a phone case you done mind covering with frosting (we got a pack of 4 clear iPhone cases for $5 from Ebay)
- doo dads for your decorations! just search “decoden” on Etsy and it turns up a ton of Kawaii cute things to use as decorations. other options are: jewels, rhinestones, spikes (i got my spikes from studsandspikes.com).
- utensil like the butt of a pencil
- optional: frosting tips to put on the nozzle of the silicone tube to create frosting-like designs.
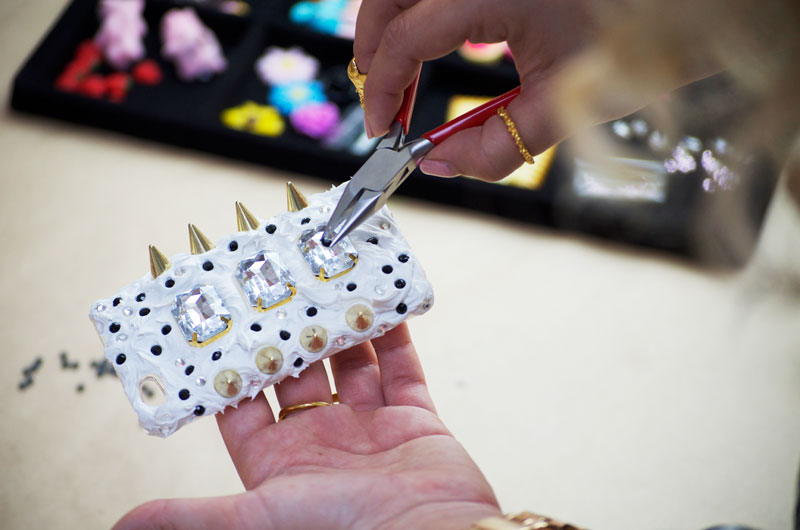
- pliers or tweezers
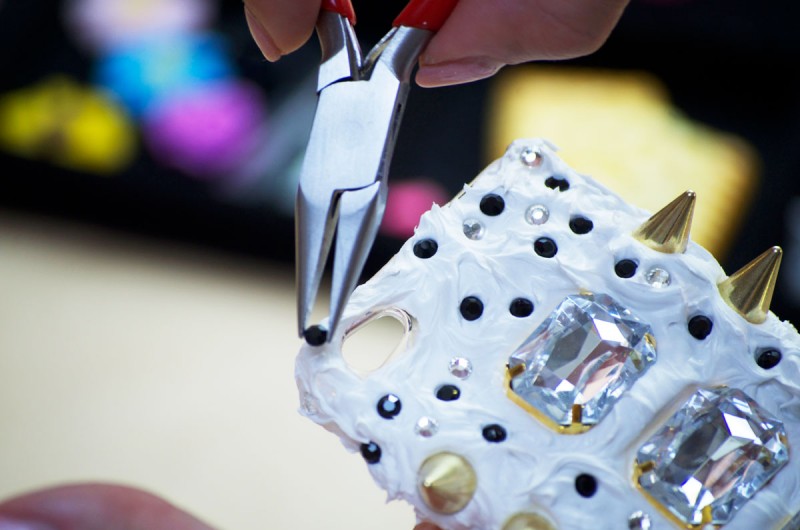
- in a well ventilated area, frost the back of your phone cover with the silicone. you may use a frosting tip or just use a pencil to make swirls. layer it on thick!
- place your decorations in the toxic frosting. note: plan your layout first before you place because it gets messy if you try to move anything once it’s in the frosting.
- let it dry for 2 to 4 hours. since it’s silicone it will never dry chalky hard, it will stay a little mushy, which feels really cool! it’s also not that heavy!
- wash your hands and call Effie to tell her what you made!
No comments:
Post a Comment